
The most important aspect of piano repair is attention to detail. The family piano ties together the living room of any household, and people are walking past it and admiring it every day. Even the smallest nick or scratch will eventually become noticeably unattractive. This is why when it comes to working on pianos, we pay so much attention to detail. We know that those tiny little trivialities can become gargantuan frustrations over an extended period of time. We get it done right the first time, guaranteed.
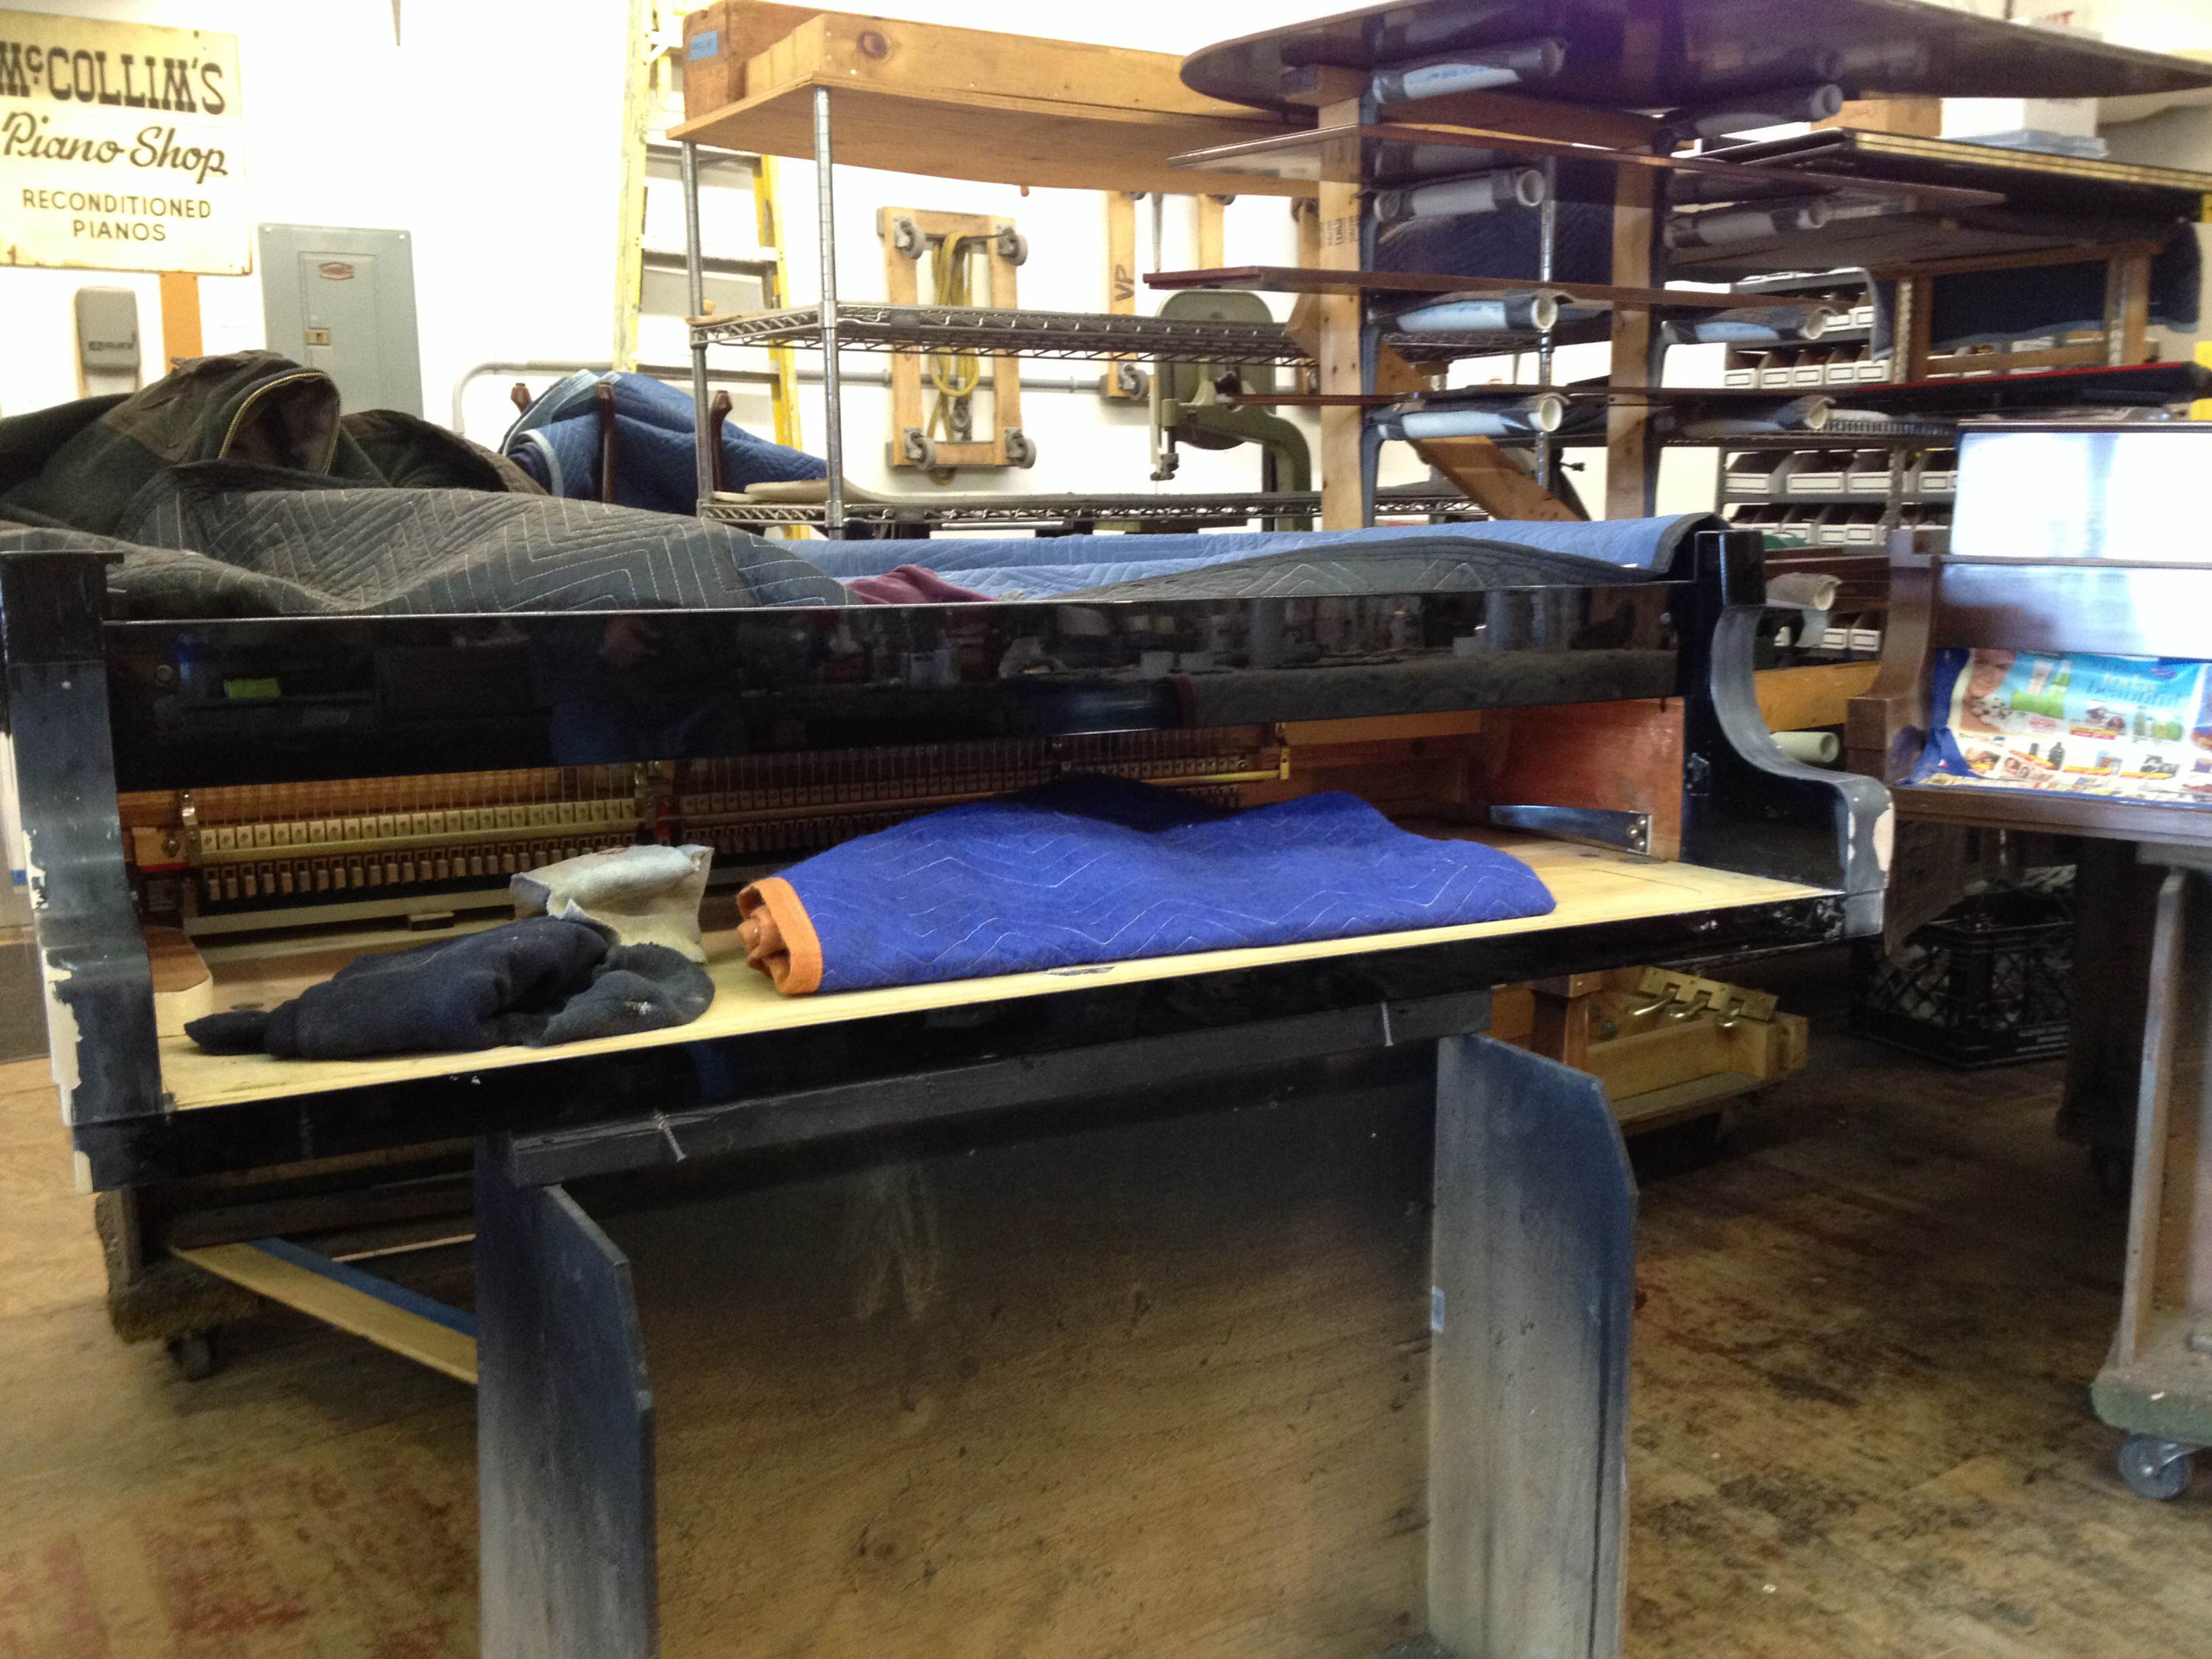
Take this nick for example:
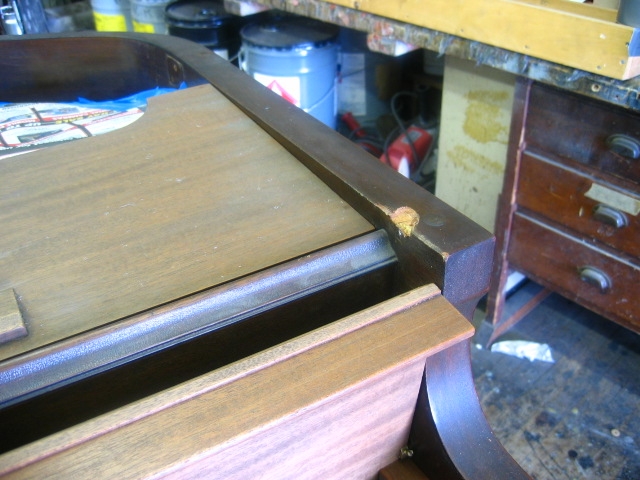
This piano is a Chickering baby grand. We did a complete touch up on the piano and took care of a plethora of other scars and jags. This is how we take care of each individual one.
—
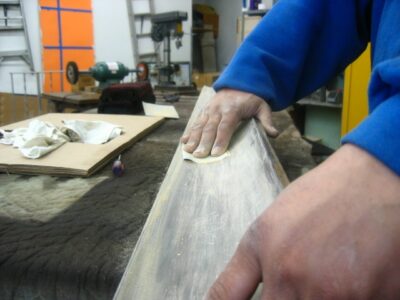
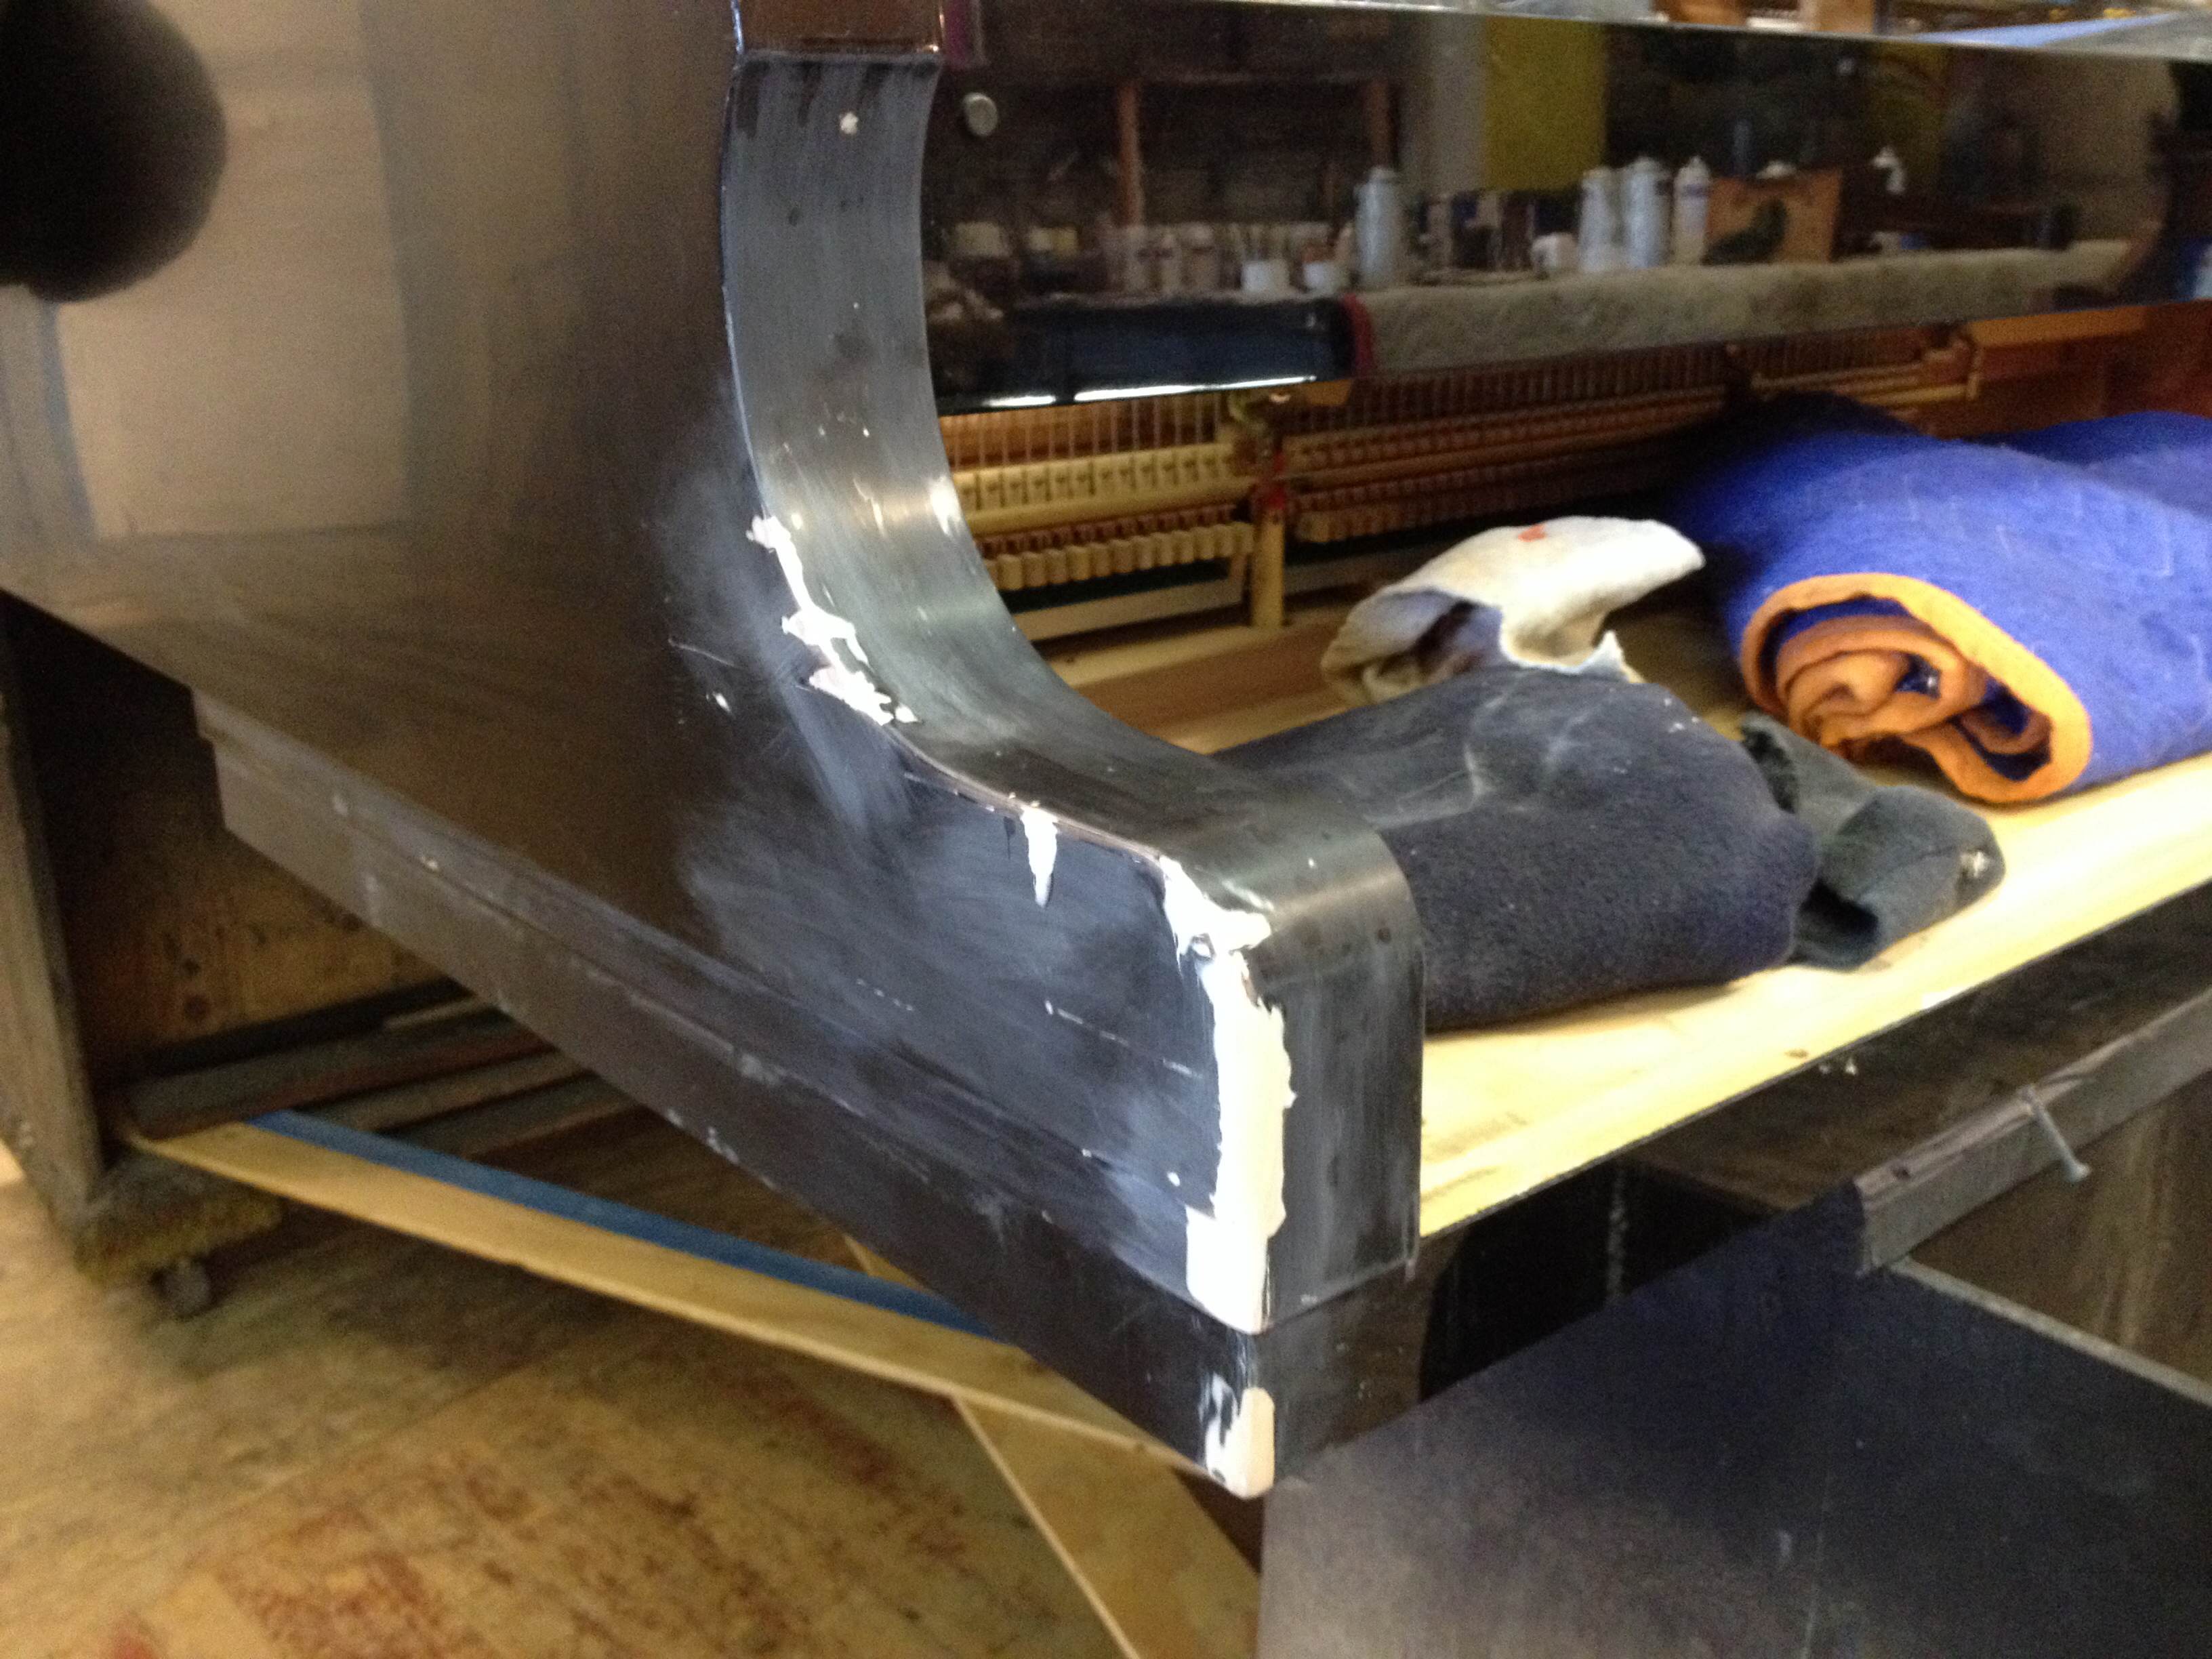
First, we score down the cut so that there are no dirty parts of the wood (this makes it better for the wood filler to stick). After we clean up the cut, we tape up the surrounding area, so that we don’t get any wood filler on the good parts of the piano. After that we use a razor blade to apply the wood filler. We fill up the cut as neatly as we can and then wait for the filler to dry. After it dries, we use razor blades and sand-paper to score down the excess filler. This whole process can be repeated up to five times until the filler is hardened and shaped to match the original area that had been damaged. At this point, the piano repair should look something like this:
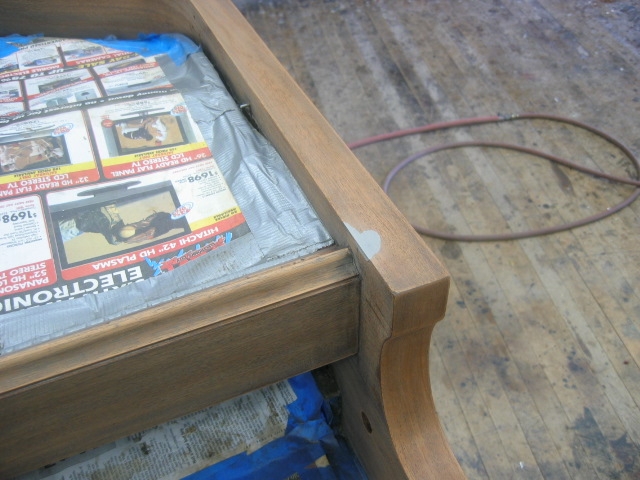
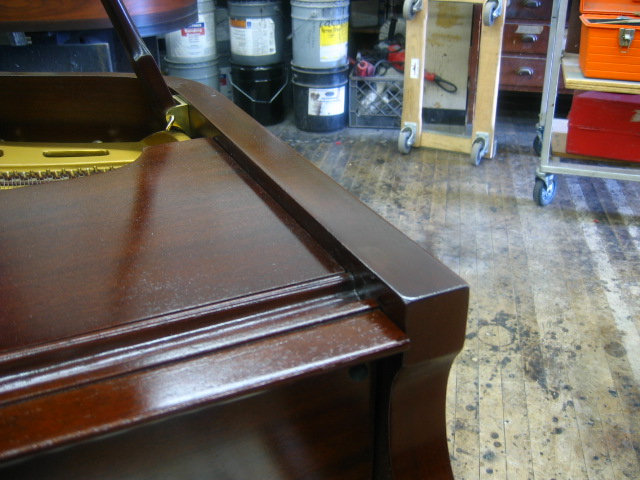
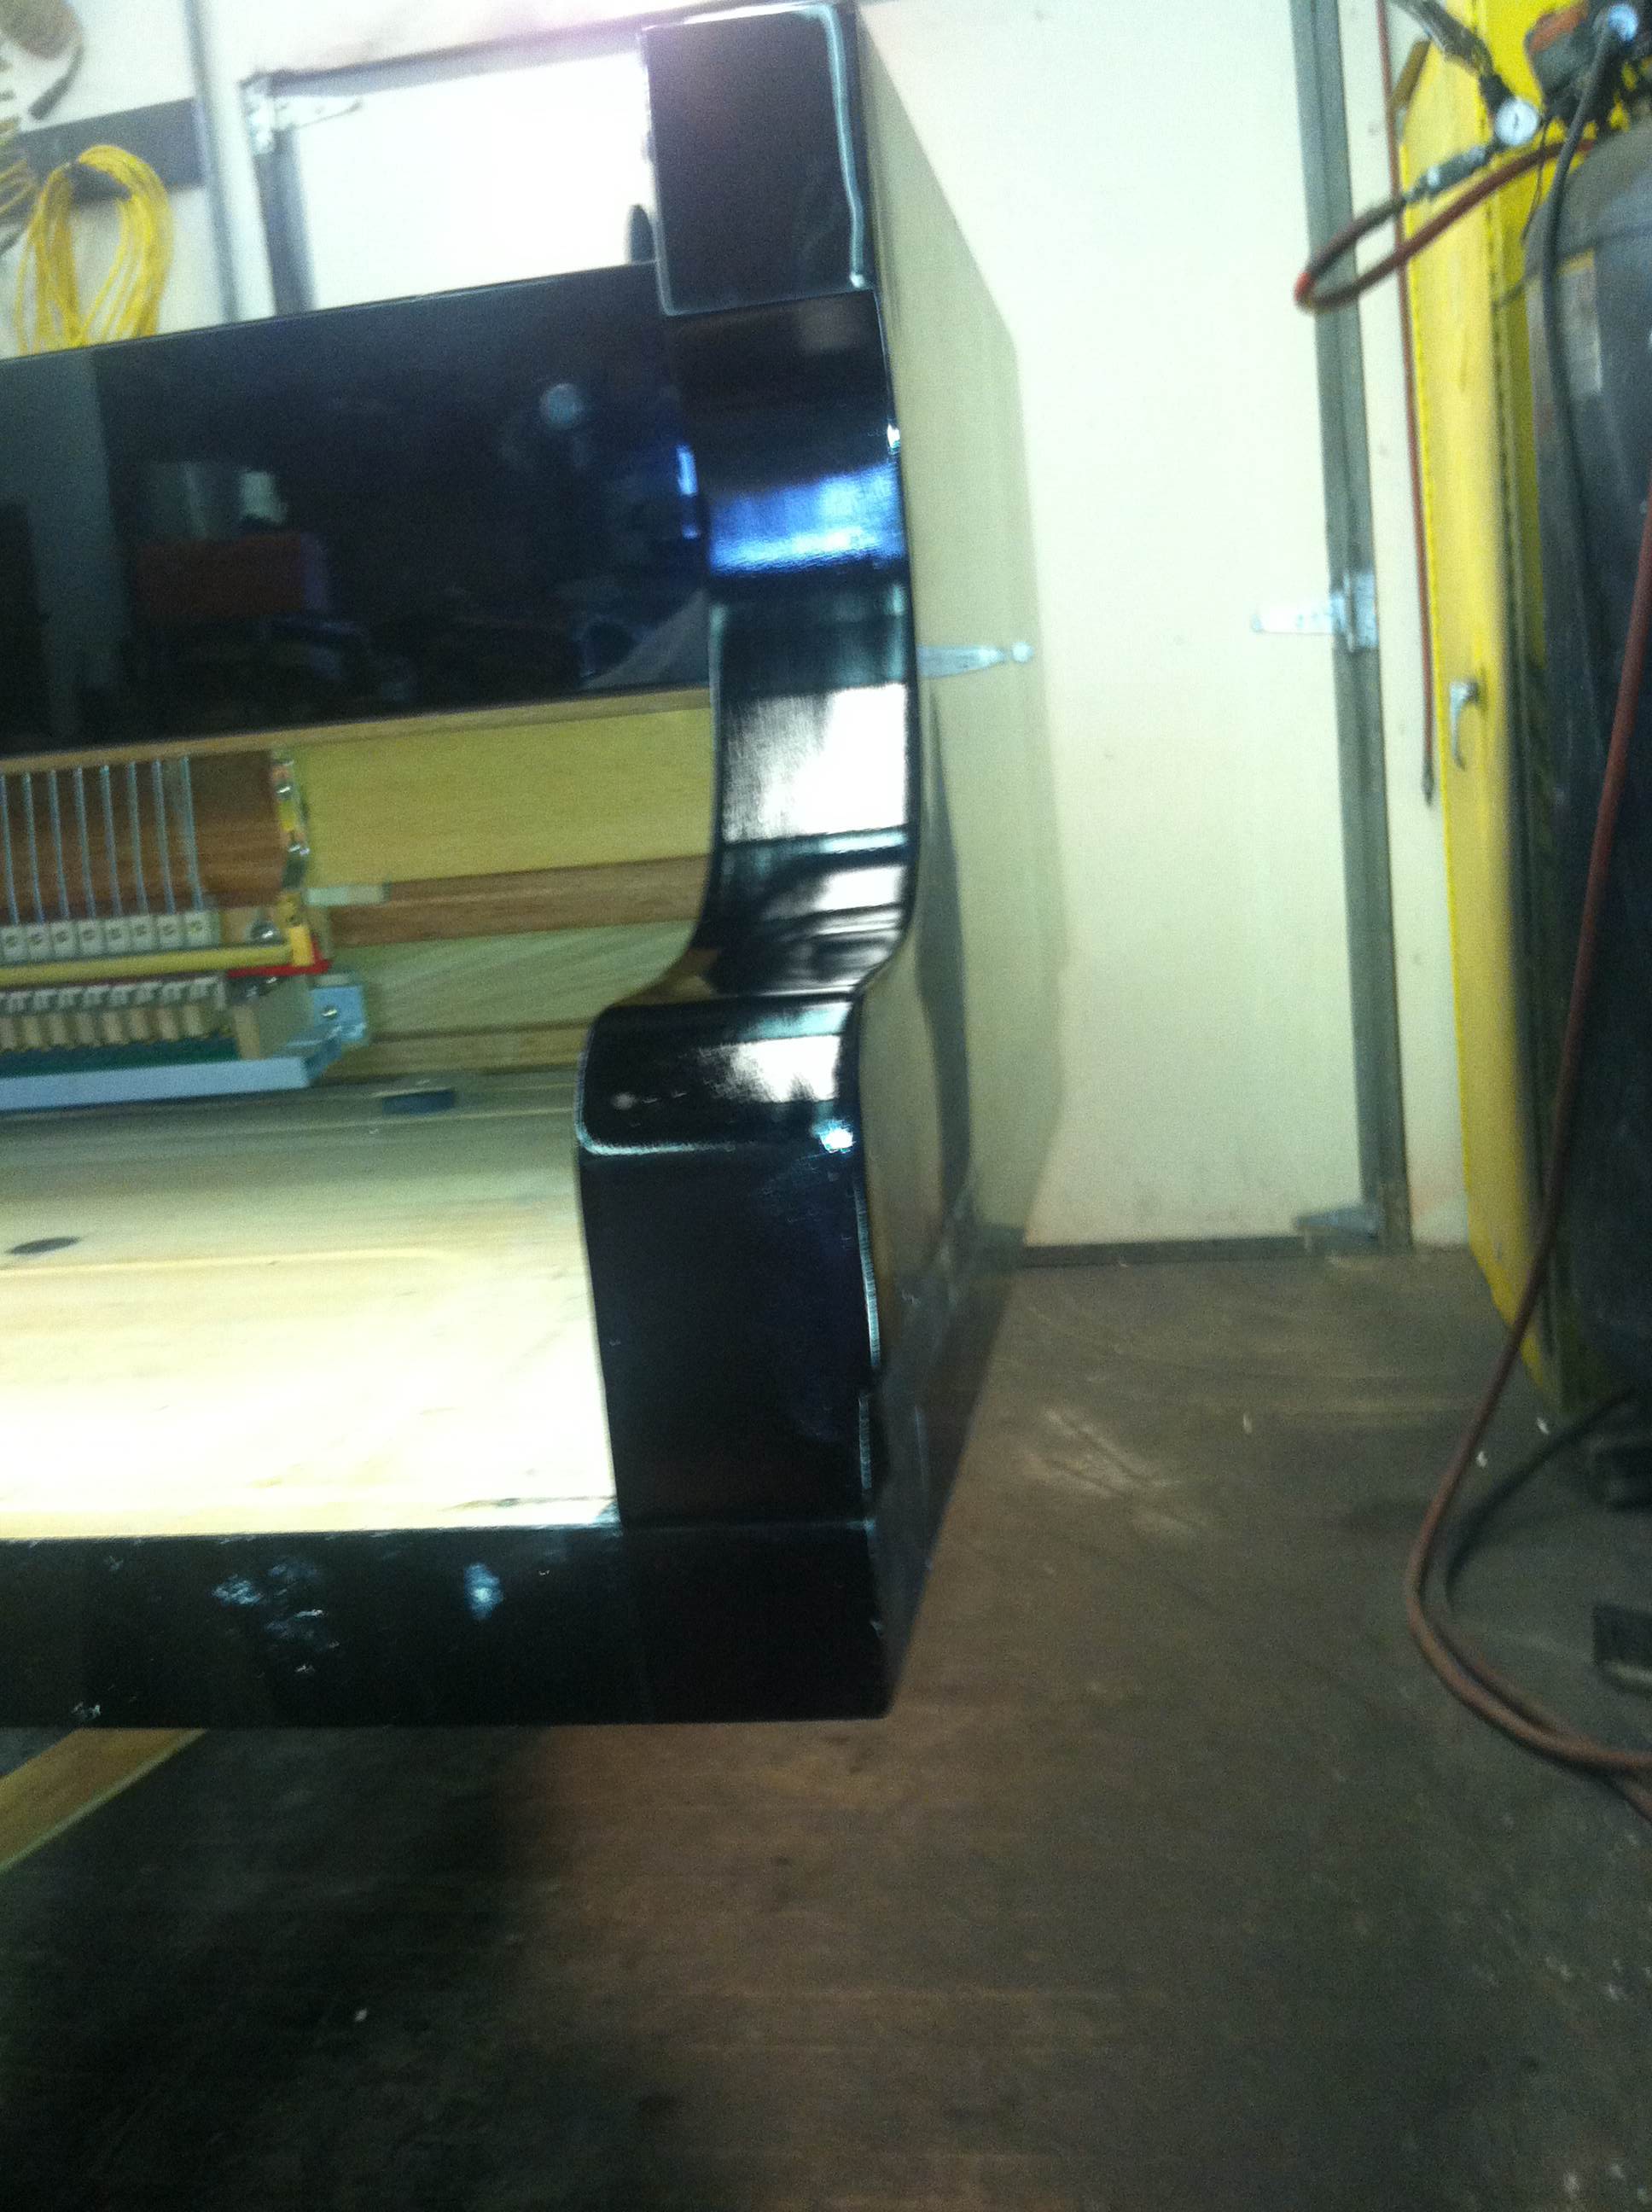
You see how the gray part is sanded down to lie flush with the wood? That’s how you want your repair to be before you start spraying the piano. When we do start spraying the piano, it’s important to make sure that the action and any other removable pieces are out and any remaining brass is taped down with newspaper. Once these precautions are taken, it’s time to spray! When the final coat is on the piano, the finished product looks like this:
So there you have it! Regardless of how many wounds your piano has sustained, we will handle them all with equally precise care and expertise.
Here’s a picture of a piano with a whole bunch of little nicks that have been filled up and sanded down. This Kawaii grand is ready to be sprayed.
Update: Kawaii grand after spray

To learn more about piano repair and restoration or to request a quote, click here.
 Sing For Hope-More cool looking pianos